You put so much effort into your garden this year and no doubt enjoyed cutting flowers and harvesting fresh food. The end of the season doesn’t mean the end to your garden! Preserve your efforts by collecting seeds from your best performing plants to get a head start on next year!
My daughter once grew me a little calendula as a class project for mother’s day, planted him in my garden and we went CRAZY. Happiest. Plant. Ever. You bet I collected seeds from that guy (“Jimmy” was the name we gave him incase you were wondering.) So that magical mother’s day gift could live on forever, year after year. XO
Which seeds can be collected?
The first step to collecting garden seeds is to determine which plants produce seeds that can be saved. Annual plants like tomatoes, lettuce, and beans, produce seeds that can be saved for the following year’s crop. Perennial plants like onions, kale, and strawberries do not produce seeds until their second or third year of growth.
Saving seeds from your best plants, ones that love your growing conditions, is a great way to ensure you grow big healthy plants which produce bigger yields and are generally more pest resistant. Yes and yes.
When can I collect seeds from my garden?
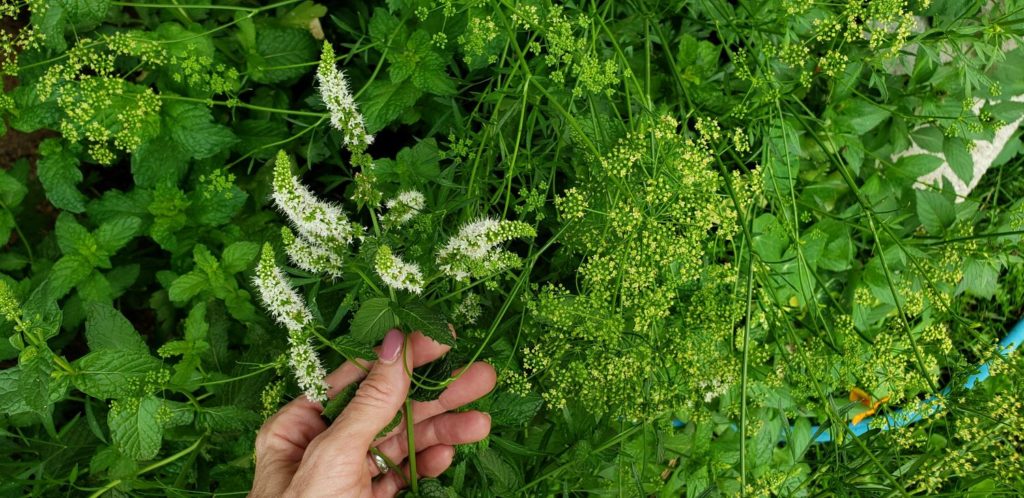
Every year I let part of what would be the last harvest of the year remain on the plant so it can successfully go to seed. Let the last handful of your favorite bean and pea pods stay on the plant till they turn brown and dry up. Let some of your greens and herbs bolt and go to flower (the bees will LOVE you for it!) that way they can go to seed.
It is important to wait until the seeds are fully mature and dry on the plant before harvesting as immature seeds won’t germinate (sprout). Let the flowers bloom then shrivel up and fall off. The seeds will likely remain on the plant. This usually happens around mid to late summer for warm weather crops and early fall for cool weather crops.
The seeds should be hard, dry, and dark in color. It’s also important to pick seeds on a dry day when there is no moisture in the air. The seeds may mold or become damp if they are collected on a humid day.
How to collect and harvest seeds
After determining which seeds to harvest, it’s time to get out there and collect them!
Collecting seeds is as easy as snipping the seed heads off plants and putting them in a paper bag to dry further. For fruits like tomatoes, remove the flesh and smear the seeds on a paper towel or piece of paper to dry. Don’t worry if they stick as you can plant the paper too! (It simply decomposes.)
TIP— For most seeds try crumbling up the seed heads onto a plate, frizbee, container lid, etc. Give it a few gentle shakes to settle the seeds to the bottom bringing the papery dry plant material (called the chaff) to the top. Outside or over a trash can gently blow the chaff off the seeds. Pick out and discard any misshapen or discolored seeds. Ta-da!
Pouring the seeds onto something flexible that you can fold makes it easier to funnel into envelopes or smaller containers.
How to store garden seeds
After you have collected and dried the seeds, it’s time to store them in a cool, dry place away from direct sunlight. You can store them in envelopes, plastic bags, or small jars with airtight lids. Be sure to label them with the name of the plant, color (for flowers) and the year they were collected. Seeds eventually go bad, so having the year written on the container is super helpful. Most seeds can safely last 3-4 years if stored properly. With each passing year the seeds lose a bit of vitality so fresher seeds are best.
TIP— Keep in mind, storing seeds in small paper envelopes is super easy and cost efficient (almost all the seeds you buy are sold this way) but I strongly recommend you store those envelopes in a larger storage container with an air tight lid to keep moisture out. No one wants a moldy mass of seed packets!
How to label seed containers
Lastly, you’ve already labeled the seeds with the date they were harvested and the variety of the plant but you can also add additional details like the location where they were harvested, if they were crossbred with other plants, when & how to plant them, sun preferences, any planting directions or suggestions. Write the additional information on the label or simply write it on a piece of paper with fade resistant ink (like a sharpie) and fold it up and tuck it into the container. This will help jog your memory next season!
Already dreaming of replanting? Click here and I’ll share how to get your seeds prepared!
Summary
- Determine which seeds can be saved.
- Harvest seeds from fully mature flowers/pods at the end of the growing season.
- Let seeds dry completely & separate the chaff.
- Store in airtight containers for this reason.
- Label all seeds as listed to prevent confusion.
Now you know how to collect, harvest, store and label seeds to preserve your gorgeous garden. You may soon find that you have enough to share with friends and your community! Chances are if a particular plant grows great in your yard it will grow great in neighbor’s yards too.
I make friends on Instagram who grow in my same growing zone which sweeps across the US. Sharing seeds with them is a fun way to engage with the gardening community and share great tips and tricks!
Come say HI! @Lubba.Food.Garden. If you’d like to look up your growing zone on the USDA website click here.
You’ve got this. Get out there and save those seeds!
Enjoy your new obsession 😊🌱
XO Myra