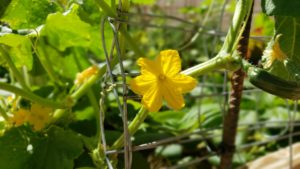

Let me show you the absolute EASIEST way to roast butternut or acorn squash. No fighting with a knife, peeler or spoon! Perfect for making mashed butternut, soups, baby food, muffins, breakfast bars, pasta sauces, raviolis, pancakes, dips, smoothies, hummus, or more.
LET’S GET TO IT!
All you need is a knife and spoon, a baking sheet and a 400 degree oven.
How to cut a butternut or acorn squash?
Simplest answer: you don’t!
If you don’t have a sharp chef’s knife (the long knife with the wider blade) or your squash is just too hard to mess with, simply roast it whole. Wipe your squash clean, poke a few holes with a fork or knife if you can, and pop that guy in the oven as is. Use a baking sheet or roasting pan, up to you. It will be so tender when it’s done you can cut it with a butter knife.
If you feel you must cut your butternut squash, perhaps to fit it into your pan or oven, simply slice off the hard stem to get it out of the way. Carefully poke the tip of your knife into it’s center at an angle where you can cut it lengthwise. Make your cut, spin the squash around so you can finish the cut on the other side.
I cut it like this for two reasons. First off, these guys like to roll and I like to have a safe place to hold the squash because sometimes accidents happen. Let’s not have an accident, ok? Second it’s easier to do this with a smaller knife if that’s all you have.

Do I roast them cut side up or cut side down?
If you’d like to bake them stuffed with butter and brown sugar then by all means scoop the seeds out of the way, trim the bottom so it can sit flat, and sprinkle your toppings on.
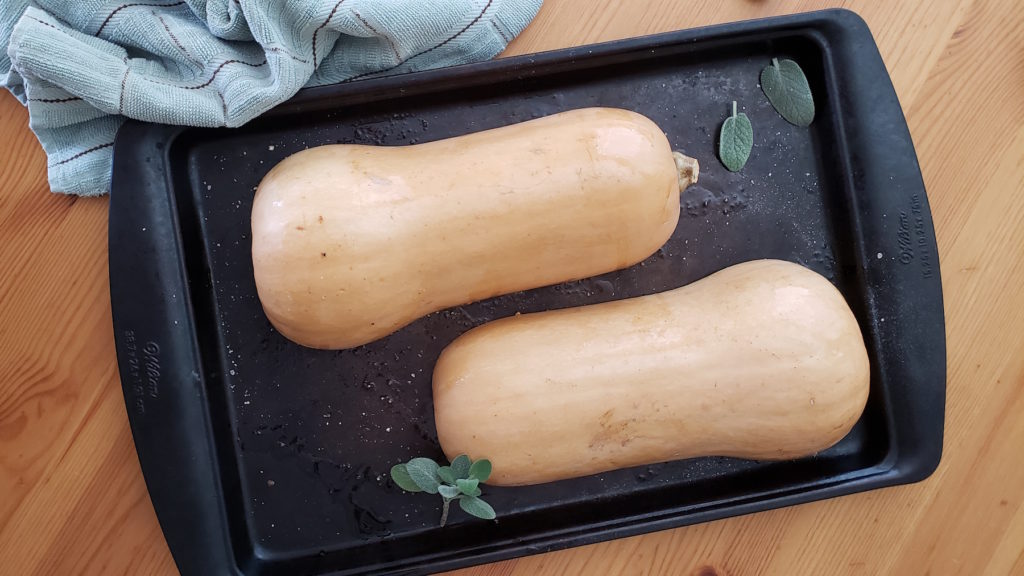
The EASIEST option is to lightly oil the cut surfaces and place them cut side down. Seeds and all. Scoop the seeds out later when they are super soft. I’ve scooped seeds one handed with a baby on my hip. Easy.
But how do I peel a butternut or acorn squash?!
Don’t. They will practically peel themselves after they’re roasted.
Let them cool a bit then easily peel the blistered skin off the squash. Flip over and easily scoop out the seeds.
Alternatively flip them cut side up, remove the seeds, then scoop out the flesh with a spoon. Soft as butter!

Can I eat squash skin?
YES! It’s just an issue of texture. All varieties of winter squash have edible skin. Once it’s roasted the texture becomes much, much softer. It smells so good you know you want to try it!
How do I know when it’s done roasting?
With a halved squash in a 400 degree oven it could be done in as little as 30 minutes for the smaller varieties. With an average sized butternut squash, it takes about 45 to 60 minutes.
Being the busy mom that I am, I have roasted an assortment of sizes all at once, for 45 minutes, poked them to be sure they were almost done, then turned off the oven leaving them inside to stay warm until I got a chance to get back to them. #momlife
Roasting whole, depending on the size of your squash, baking at 400 degrees it could take 60 to 90 minutes. You’ll know it’s done when you can easily poke it with a fork. Ah… it smells so good!
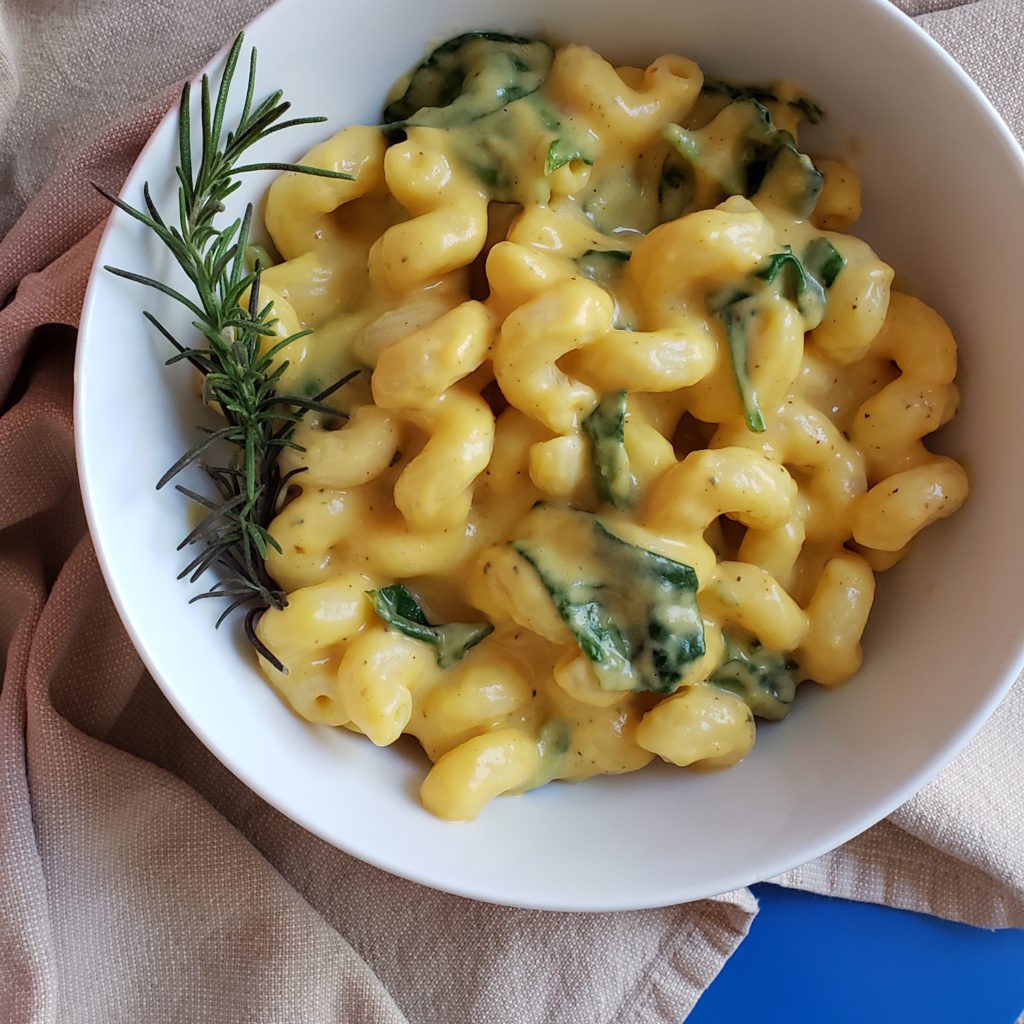
Easy pasta sauce 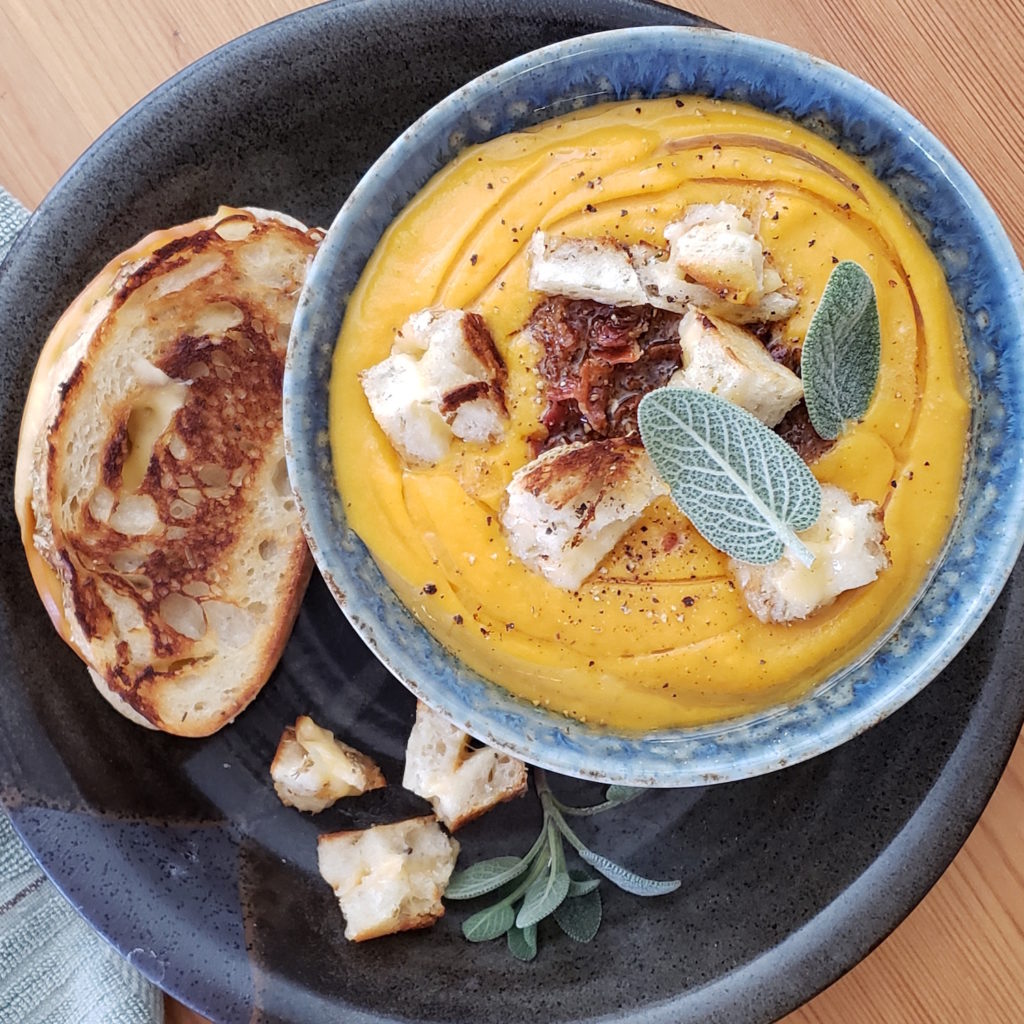
Sage and crisp prosciutto soup
Is butternut squash good for you?
You’re kidding right? This vegetable is packed with A, B6, C, folate, magnesium, fiber, riboflavin, phosphorus and potassium.
According to Medical News Today we need the vitamin A for great skin and hair. Vitamin C help build and maintain collagen… Yes please! Fiber to reduce inflammation and it’s associated risks of cancer, diabetes, obesity and cardio vascular disease.
We’re not getting any younger folks. Pack in the nutrients where you can!
Man that was easy. What other squash can I roast this way?
All winter squash. Pumpkin, spaghetti, kabocha, carnival… go for it!
What’s the difference between winter and summer squash?
Glad you asked. They are both planted in the spring and grow throughout the summer months. Summer squash mature faster and can be picked earlier. Winter squash take a little longer to reach maturity and are picked later in the year. After being “cured” the skins become thick and hard so they can be stored for months and enjoyed in the winter!
If you’d like to start a garden yourself but don’t know where to start, take a peek at this article about gardening basics where I share how you can grow food even in the desert, or this one for a 12 month planting guide so you can jump in any time of year!
Can I use the skins or seeds in anything?
But of course, let’s not be wasteful! It’s all edible, why not puree it and add it to a recipe? What do you think goes into canned “pumpkin” anyway?
Scoop those seeds into a blender and whip up a velvety smoothie with extra fiber and nutrients.
Some people mash it up and add it to homemade dog food.
If you’re not going to eat it you can always toss it on the compost!
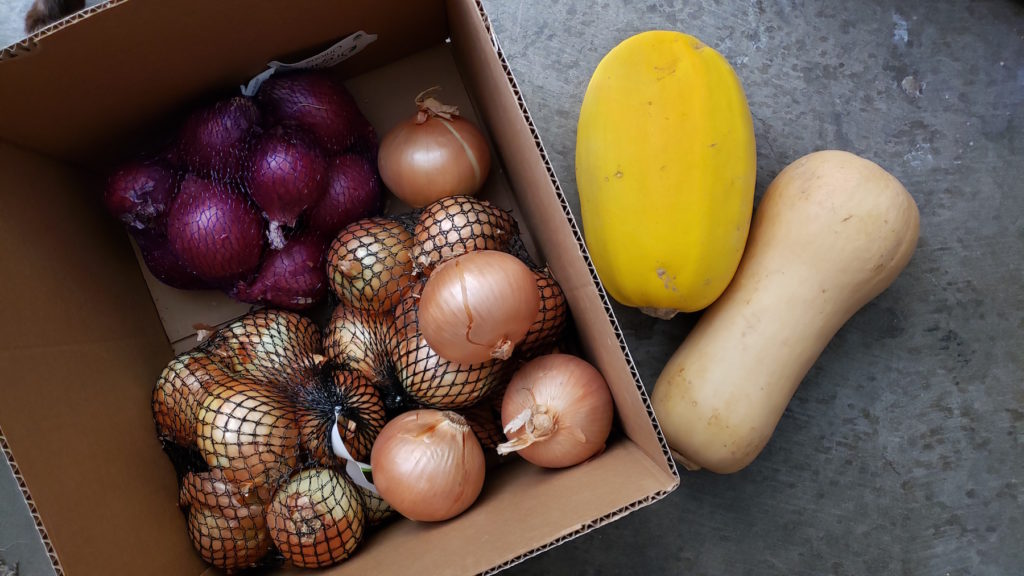
How long can I store squash until I’m ready to use it?
If your squash was purchased from a store, there’s a good chance it’s already been cured. Try this- If you can easily dent or break the surface with your fingernail it is not cured. If you can hardly make a dent then it had been cured.
To cure a fresh one, be sure it is blemish free and simply leave it somewhere warm and dry with great air circulation for 7 to 10 days rotating occasionally. Outside is fine and a little sunshine won’t hurt it. Acorn squash are the only ones that do not need to be cured.
Assuming you are storing your squash in a cool location (garage or cellar of some sort) Acorn squash can store up to 4 weeks, Spaghetti squash for 4 to 5 weeks, Pumpkin 8 to 10 weeks, Buttercup 13 weeks, Butternut up to 3 to 4 months, Blue Hubbard a bit longer than that.
Keep squash dry and up off the ground. Wire shelving or wire baskets work great. Inspect weekly as spots could lead to rot and should be used first.
There you have it folks. Now you know what you’re doing with those squash! From sweet to savory and everything in between, you’ll be happy to make these easy veggies a new healthy staple in your kitchen. XO
Did you make it? I wanna see! Tag @lubba.food.garden on Instagram. Use the hashtag #ILubbaFood If you Love food as much as I do. XO Myra