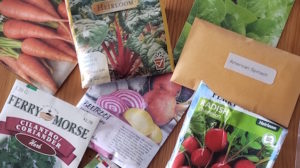
Spring is just around the corner, which means it’s time to start preparing your garden for the planting season! If you’re a seasoned gardener, you’ll know that one of the most important steps in starting your garden is to prep seeds. Each type of seed requires a different preparation method. In this blog post, we’ll explore the different preparation methods for various types of seeds, including which seeds need stratifying (chilling), which seeds to file before planting, fermenting seeds, which seeds to direct sow, and which seeds to start indoors. This may seem daunting to a newbie but I assure you it’s quite simple. Let me show you…
Did you collect your own seeds following my previous article? Good job! Or purchase seeds from a store? Glad you’re gardening! Read along below to get your seeds prepped and ready for planting.
Which seeds need stratifying (chilling)?
Stratification is a process of simulating winter conditions that a seed would experience naturally in the ground before it germinates (sprouts) in the spring. Some seeds require stratification before they can germinate. These typically include seeds from perennials (plants that come back year after year) like strawberries, wild flowers and most trees (apple, pear, peach, cherry) and shrubs. Most annuals (plants that only grow for one season then die off) and vegetables usually do not need chilling.
To cold stratify seeds, place them in a sealable plastic bag or container with a dampened paper towel or a handful of moist coco coir, peat moss, vermiculite or pearlite. Store in the fridge for 1 – 4 months according to the Farmer’s Almanac. After stratification, the seeds can be planted as usual.
What is filing & do I need to file seeds before planting?
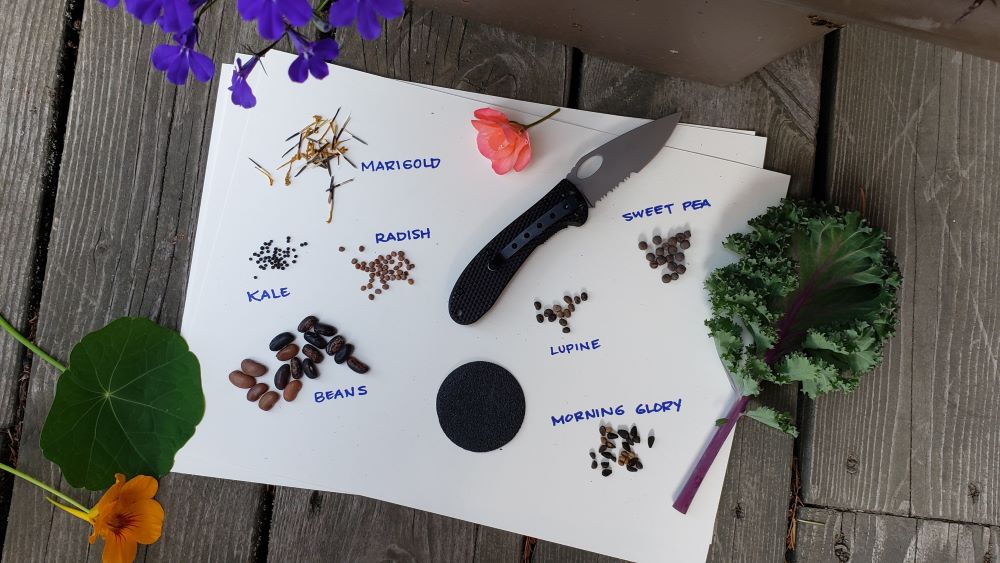
Some seeds benefit from being soaked in water, filed down or scratched before planting. This is called scarifying or scarification.
Hard-coated seeds such as lupine or sweet peas can benefit from being filed gently with a piece of sandpaper or nail file to help them absorb water and germinate more easily. Seeds with tough outer coats like nasturtium can be placed in a dish and covered with warm water and allowed to soak 24 hours. The idea is to weaken the outer layer of the seed coat without damaging the internal seed embryo.
The tough outer shell keeps seeds from sprouting too early. Think about it, if the seeds sprouted as soon as they dropped off the plant the little seedlings would die over winter. By being exposed to freezing, thawing, animal digestive tracts and the like, the outer shell has time to weaken so the seed can germinate at the proper time. Brilliant!
Remember: It is important to be gentle in this process, both with the seed and yourself! Ensure that the seed stays intact and the scratch you make doesn’t become too deep. Use caution if you choose to use a knife to scratch or nick the seeds!
Seeds can certainly sprout without being filed but the germination rate is much less and may take longer.
Fermenting seeds
Some fruits and vegetables produce seeds that need to be fermented before planting. There are three main reasons for this: It separates the pulp from the seeds, It destroys any germination inhibitors in the surrounding gel and It kills any bacterial fungal pathogens that could affect the seeds.
Seeds that need fermenting are those that come from pulpy or slimy fruit such as tomatoes, cucumbers or pumpkins. About 98% of what I can find online about fermenting seeds strictly refers to tomatoes. So that makes it easy! On that note, I will add that this is not absolutely necessary as I have about a dozen “volunteer” tomato plants in my garden this year from last year’s fallen fruit. 😆🍅
To ferment the seeds, place them in a jar with water and let them sit for a few days or until the mixture begins to ferment. Then, drain the mixture and rinse the seeds several times in a fine meshed sifter. Once cleaned, the seeds can be planted as usual or left to dry for saving.
I prepped my seeds, now what?
Which seeds to direct sow?
Oh this is so easy! 😎 Direct sowing is the process of planting seeds directly into the ground rather than starting them indoors first. Some seeds benefit from direct sowing as they don’t like being transplanted after they’ve put down roots.
Examples of seeds that are ideal for direct sowing include beans, peas, sweetcorn, root veggies like beets, carrots & radishes, leafy greens like lettuces, pumpkins, cucumbers and squash. Most annual flowers like sunflowers, marigolds, calendula, zinnias, cosmos and poppies to name a few.
For best results, ensure that the soil is soft and free from rocks, weeds and other debris. Keep in mind that root vegetables like carrots grow straight down so rocks below the surface can easily stunt or deform their growth.
Which seeds to start indoors?
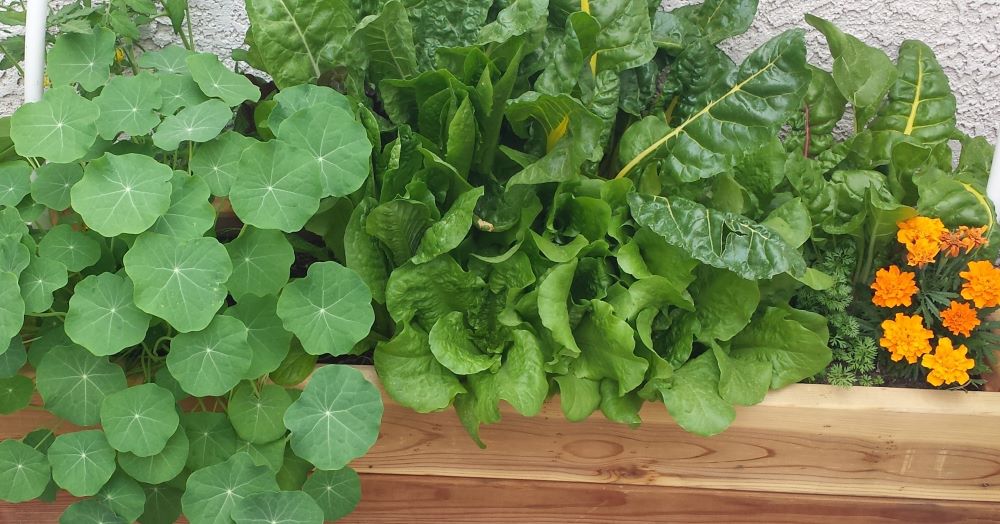
Some plants require a longer growing season than others, and the only way to ensure they mature before the cold season is to start them indoors. That said, you can start nearly any plant indoors to get an extra jump on the growing season. Indoor sowing allows you to control the growing conditions, and you can adjust the light, temperature, and soil moisture, which are essential for optimal growth.
Examples of plants that may require starting indoors include tomatoes, peppers, eggplants, broccoli, brussels, cauliflower and cabbage depending on your growing region. If you live in a cooler climate try starting your herbs indoors as well.
Start seeds indoors around February for warmer climates and around March for colder climates. You don’t want to start too early unless you have a great source of light to prevent plants from getting too leggy as they search for sunlight.
If you don’t have the time, space, supplies or patience to start seeds indoors it is perfectly OK to purchase plant starts (baby plants) at a local nursery! You’re just paying someone a couple dollars to start the plants for you. I like the instant gratification of seeing green in my garden. It cheers me up while I wait for all of my direct sown seeds to germinate!
Preparing your garden for the planting season is an exciting time for gardeners of all experience levels. By understanding how to prep seeds for planting, you can ensure a bountiful harvest. Whether you’re planning to stratify, file, direct sow or start your seeds indoors, following these tips will help you to get the best results from your garden. So, grab your gloves, tools, and seeds, and get planting!
HAPPY GARDENING! 😀🌱💕
XO Myra