
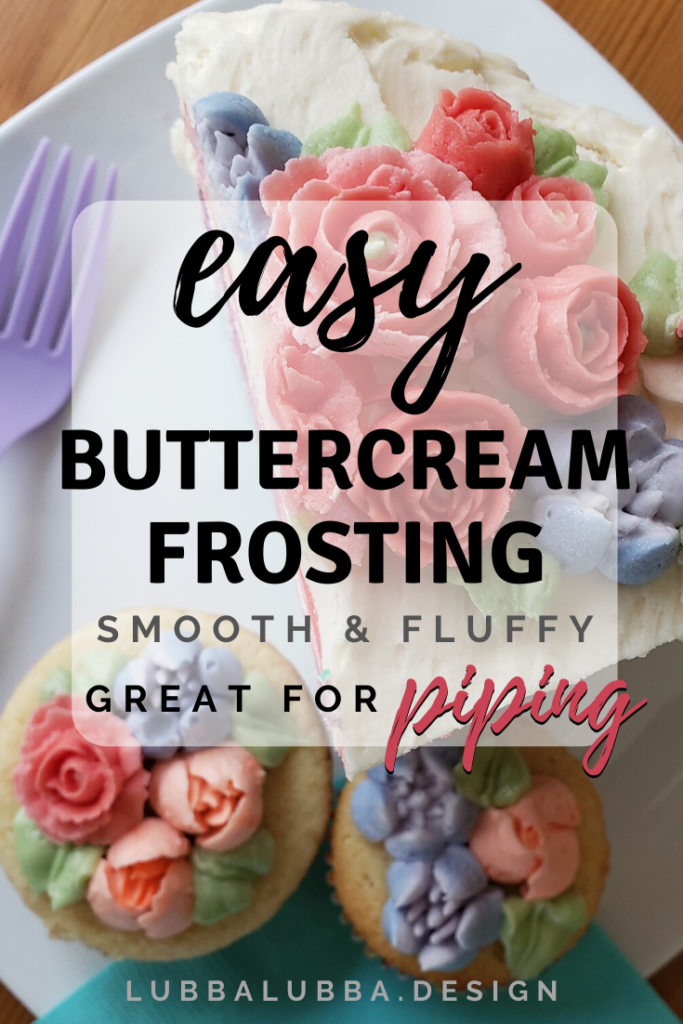
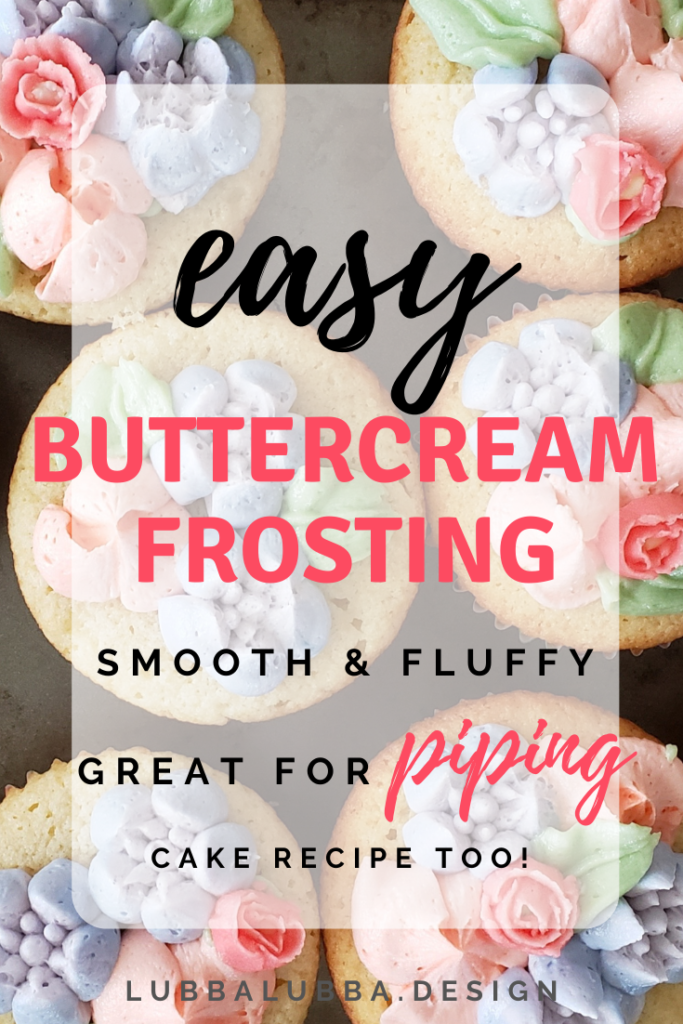
Get creative with this simple cake recipe!
Here you will find a basic vanilla cake recipe that can be easily layered into SO MANY variations. With a splash of color and simple flavor extracts the possibilities are nearly endless!

Let’s get right to it shall we? Tips and tricks along the way…
Cake ingredients
This cake recipe is for a dainty 3 tiered 6 inch cake. If you’d like to use 8 inch cake pans, then double the recipe.
- 1 2/3 cup all-purpose flower
- 1 cup granulated sugar
- 1/4 tsp baking soda
- 1 tsp baking powder
- 3/4 cup unsalted butter
- 2 eggs
- 1 tbsp vanilla or extract of your choice
- 1/2 tsp salt
- 1/4 cup sour cream or whole milk yogurt
- 1/2 whole milk
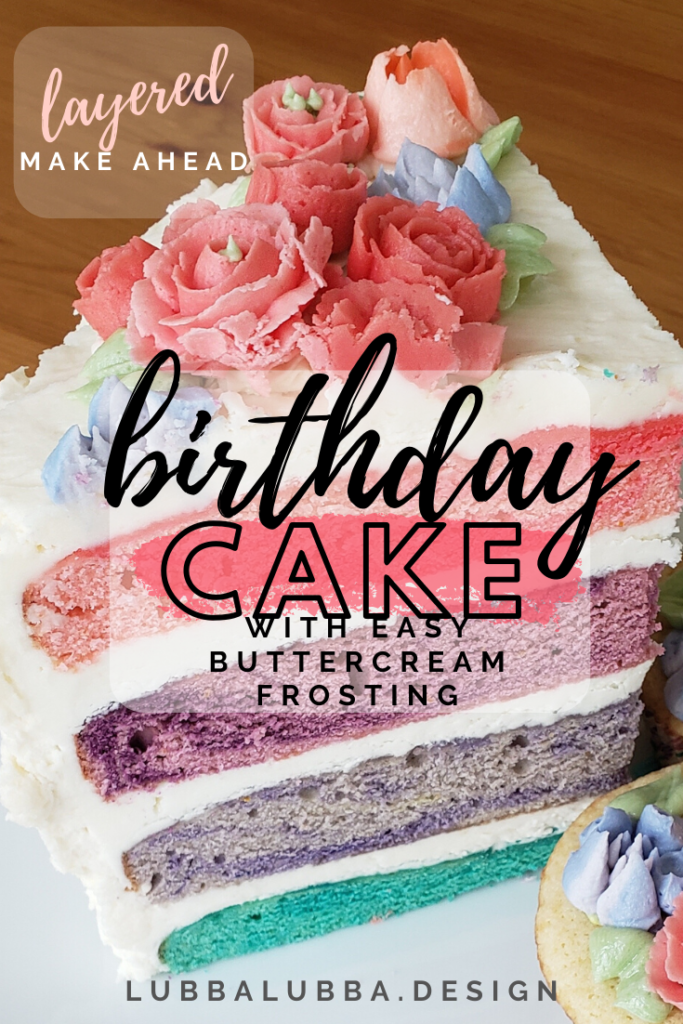
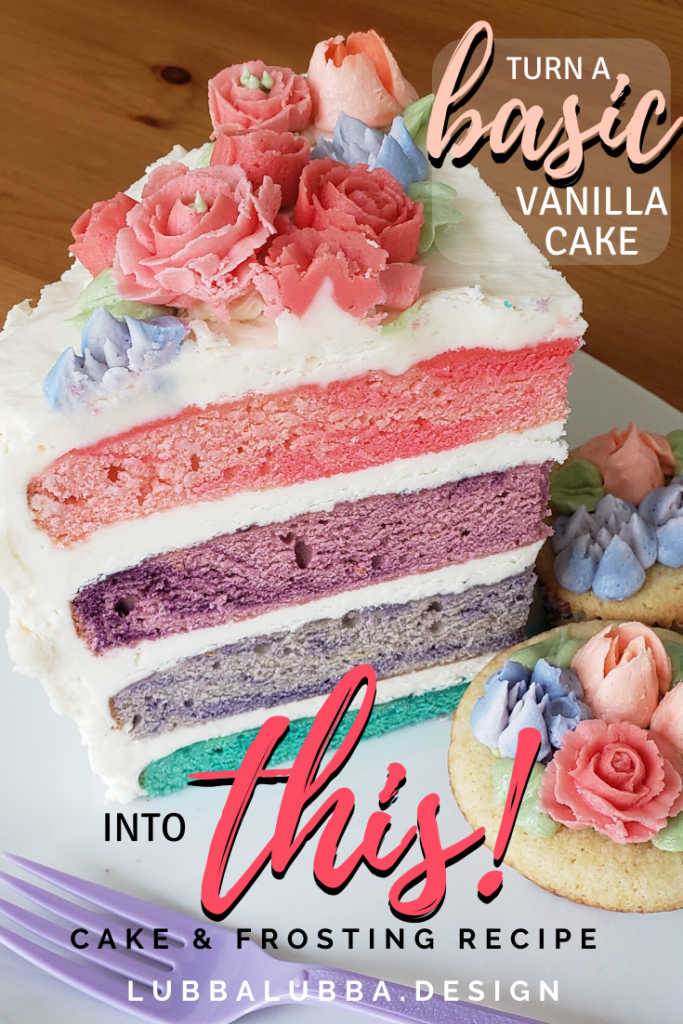
Note that darker extracts and egg yolks can slightly darken your cake. If you are wanting a super pale cake be sure to use clear extracts and substitute 3 egg whites in place of the whole egg while increasing the sour cream to 1/2 cup. (The cake pictured above was made with whole eggs.)
Cake instructions
- Preheat oven to 350F. Butter and flour three 6 inch cake pans. (Use a butter/flour spray typically found in the grocery store by the oils if you want to save a few minutes.) Dampened cake strips placed around your pans will help create flat layers. (see below)
- Sift all of your dry ingredients together. Beat wet ingredients together then add to the flour mixture. Mix until just combined.
- Divide batter evenly between cake pans. If you are wanting to individually flavor and/or color each layer then divide batter into separate bowls, add flavoring and coloring then pour into cake pans.
- Bake for 30-35 minutes until the centers spring back when lightly pressed. The cake should start to pull away slightly from the edges of the pan.
- Let the cakes cool in the pans for a few minutes. Flip them out onto a cooling rack. Let them cool completely! Seriously.
What are cake strips?
Cake strips are fabric belts that are moistened with water and wrapped around the cake pan to better distribute the heat. These are placed right in the oven around the cake. The result is a cake that lies flat across the top (not domed) and moist right up to the very edges.
Cake strips can easily be made at home by wetting a paper towel or news paper and rolling it into a strip about an inch thick and long enough to fit around your cake pan. This damp paper can then be rolled in a layer of aluminum foil and wrapped around the pan. Crimp the edges to keep it secured.
If you don’t use cake strips it’s not the end of the world. If your cake is too domed you may just need to carefully trim it down. A serrated bread knife should do the trick.
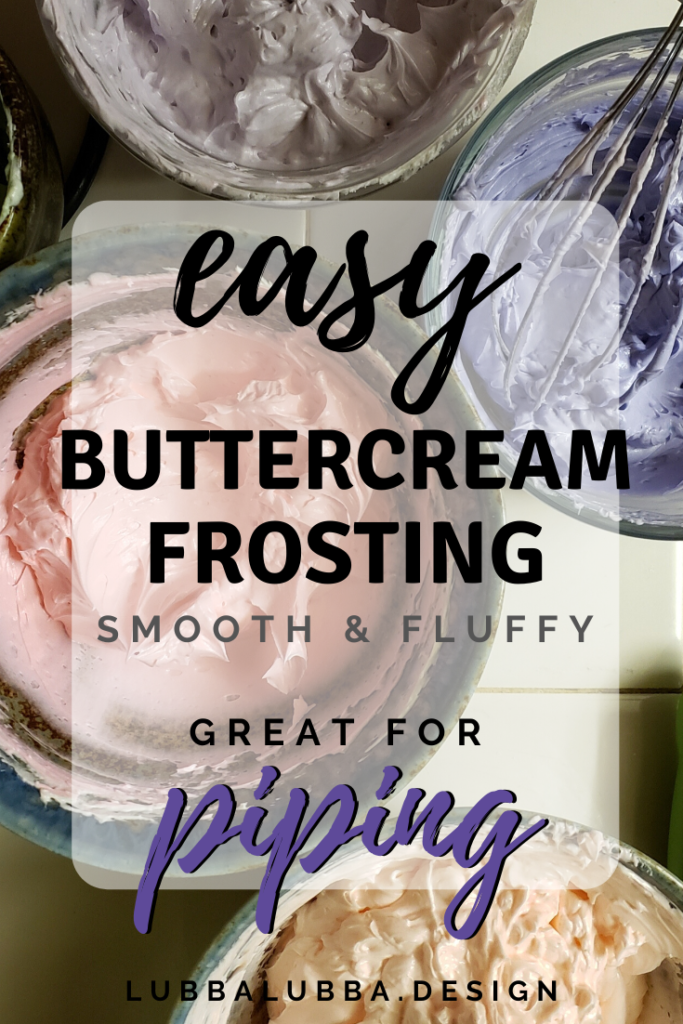
Buttercream ingredients
This is a double recipe for buttercream frosting. If you definitely do not want extra frosting and are only making three 6 inch cakes then by all means cut this recipe in half. I absolutely do not enjoy running out of frosting in the middle of a project. I also don’t mind having extra on hand for other things, say… Waffles, cupcakes, cookies… I’ve even been known to add a dollop to my coffee!
If you are planning to create delicate piped flowers or designs please put your sugar though a sifter to remove lumps.
- 2 lbs confectioner’s sugar (usually come in 2 lb bags)
- 2 cups (4 sticks) butter, room temp
- 1 cup heavy whipping cream
- 2 tsp vanilla or other extract (I love a splash of rose water!)
- A pinch or two of salt, to taste
- Food dye if you’re feeling feisty.
Buttercream instructions
Note that this is an American butter cream so not only is it on the sweeter side but it also holds it’s shape very well. (Extracts do not need to be oil free like they would be for a frosting made with egg whites, FYI)
- Beat the butter until light and fluffy.
- Add sugar, extracts, heavy cream.
- Adjust to desired consistency with either a spoon of confectioner’s sugar or a splash of cream.
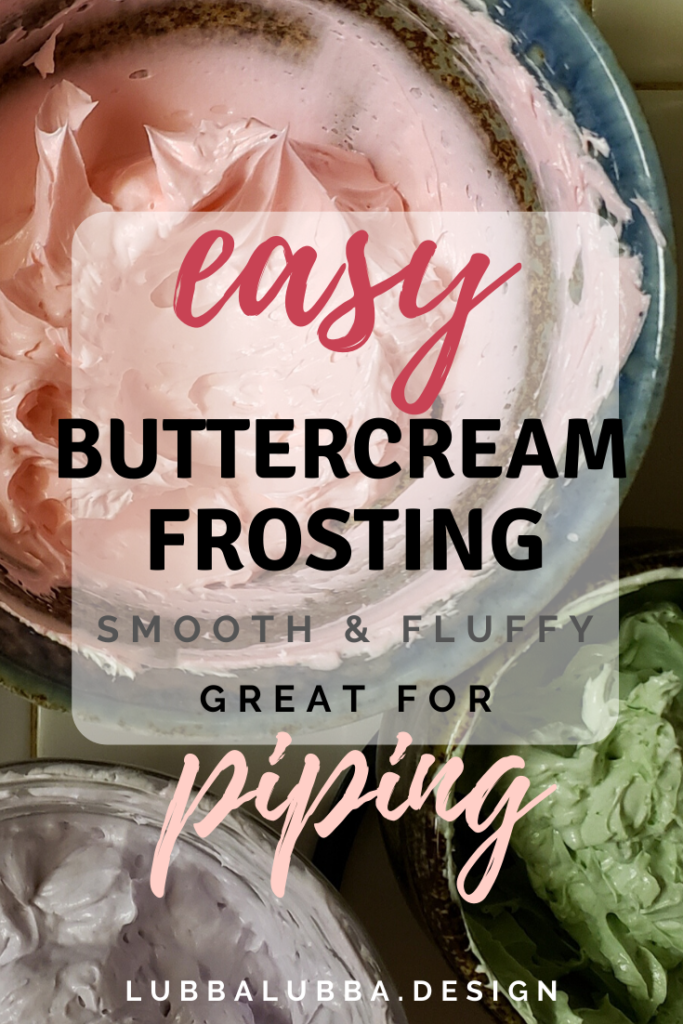
- Add coloring if desired. If making multiple colors be sure to separate into different bowls before adding coloring.
- Transfer to piping bag. (large ziploc bag works just fine!)
Assembly instructions
Make absolutely sure your cake is cooled before attempting to frost it. Disaster City if you don’t.
- Gently use your fingers to dust off any crumbs from the edges of your cake layers to prevent them from crumbling into your beautiful buttercream frosting.
- Pipe buttercream in a tight spiral on top of your first layer of cake. Gently stack another layer of cake on top and repeat until you’re done. If you want to go for the “naked cake” look then you are ready to decorate!
- Frosting the sides? Coat the cake with a thin layer of buttercream to fill in the gaps. Use a spatula or even a clean ruler if you need to. This thin layer is called a “crumb coating” and will change your life. Pop that cake in the fridge to chill for a bit (while you tidy up that kitchen!) or gently cover it with plastic wrap and chill it for a day or two until you can get back to your project. #momlife
- Now that your crumb coat has had a chance to harden up you can easily frost your cake without it crumbling into pieces! Man I wish I knew about this YEARS ago!! (Face palm)
You can easily use a spatula to frost your cake or you can use a piping bag with a fun tip!
I once saw someone insert a wooden skewer down through the center (think hamburger pick) to help hold the layers in place while it chilled in the fridge.
Can I make this cake ahead of time?
Both cake and buttercream frosting can be made ahead of time. Bake your cakes, cool on wire racks, wrap nice and tightly in plastic wrap. Store in the fridge for a few days or in the freezer until you’re ready to assemble your cake. Allow frozen cakes to thaw a bit before frosting.
Frosting can be made ahead too! Keep it refrigerated and let it sit out at room temp for about 15 minutes to soften up. I prefer to store mine in containers (not piping bags) because I like to stir it before using. This helps too if you need to adjust the color for any reason.
Too busy to play bakery all afternoon? Bake off a cake one day, whip up frosting the next and assemble it the day after that.
Does buttercream need to be refrigerated?
According to the USDA cakes made without cream cheese or cream fillings “don’t actually require refrigeration” but to be on the safe side, what doesn’t get eaten for the occasion should be refrigerated.
Helpful tip! Traveling to an event is a lot less stressful with a pre-chilled cake as it eases your mind as to the food safety aspect and chilled cakes are a lot sturdier too! Once you get to your destination it can be left out to come to room temperature while building sweet anticipation. LOL
If you are saving buttercream for another project you’ll want to keep it in the fridge. Set out at room temperature for 15 minutes or so to soften it up. Note that colors may separate so it’s best to save them in containers so that they can be re-stirred before being transferred into piping bags.
Can I make the frosting less buttery?
Frosting can be made “less buttery” by having a slightly higher ratio of cream and sugar to slightly less butter. This results in a lighter, less buttery consistency.
Can I make chocolate buttercream?
To make chocolate buttercream add 1/4 cup sifted cocoa powder to your frosting (more to taste) keeping the vanilla as well. …Mama want.
Let us know how it goes! Tag us on instagram @lubba.lubba and tag #ilubbafood so we can see what you created!
Have fun. XOXO
